Properties
Article ID: POS-KB-002
Last Reviewed: 20 March 2018
Revision: 1
Background
The peripheral devices receipt printer and cash drawer needs to be installed and configured on each POS machine.
Steps to install and configure EPSON Printer and Cash Drawer
- Double click on the Epson OPOS_ADK_80ER.exe to extract the setup files.
- Double click on the setup file to start the installation.
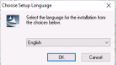
- Select the language as 'English' and click OK to continue.
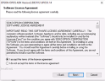
- Click Next.
- Select I accept the terms of the license agreement and Click Next.
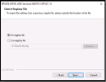
- Select No registry file and click Next.
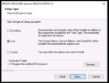
- Select User and click Next.
- Click Next.
- Select USB port and click Next.
- Click Finish to finish the installation.
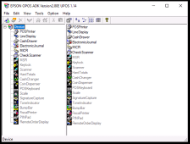
- This will open the EPSON OPOS ADK tools.
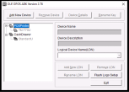
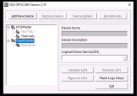
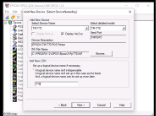
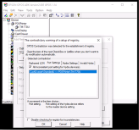
- Right click on the POS Printer and click on the “Add new device”. Enter the details as below and click Next.
- Click on the Check Health Interactive button.
- It should show a success message. Click OK to close the message box and click Finish.
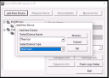
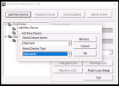
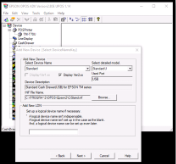
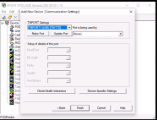
- Right click on the CashDrawer and click Add New Device and enter the details as below:
- Click the Next button and select the Connection Type as below and click OK.
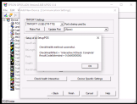
- Click on the Check Health Interactive button.
- It should show a success message and open the drawer.
- Click Ok.


Steps to install and configure Sewoo Printer and Cash Drawer
- Double click on the Sewoo OLE POS Setup-78.exe to start the installation.
- Click Next twice.
- Click Finish.
- Open Setup POS app.
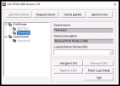
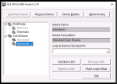
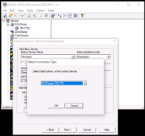
- Select the POS Printer and click on the Add New Device button to add a printer.
- Select the option as below and click OK.
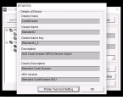
- Select the POSPrinter ThermalU then click on the Device Details.
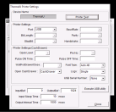
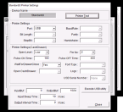
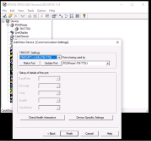
- Then click on the Printer Test And Settings.
- Then click on the Printer Test button and verify it’s printed the receipt.
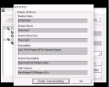
- Select the CashDrawer option then click on the Add New Device button.
- Select the options as below then click on the OK button.
- Select the CashDrawer StandardU_2 then click on the Device Details Click on the Printer.
- Click on printer Test And Settings.
- Click on the Printer Test button and verify the Cash Drawer is open.