


1. Posting Positive and Negative Adjustments
-
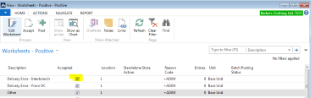
Navigate to the Positive or Negative Adjustments worksheets.
Departments > LS Retail > InStore Management > Worksheets -
Open either Stock Positive Adjust. or Stock Negative Adjust.
-
Worksheets that are ready for posting have been marked Accepted by Store Managers.
-
Click on the Accepted column header to sort by the Accepted column.
-
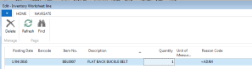
To review an accepted worksheet, select the worksheet and click on Edit.
-
The quantity can be changed as required. It is also possible to remove a line from the worksheet by selecting the line and clicking on the Delete button.
-
To post the worksheet, close the worksheet by pressing OK to return to the previous screen. Click POST.
-
Click on Yes to confirm. A confirmation message will appear once complete.


2. Posting Stock Count Adjustments
-
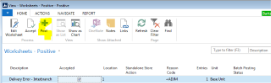
Navigate to the Stock Count Worksheets.
Departments > LS Retail > InStore Management > Worksheets
-
Click on Stock Counting
-
Worksheets that are ready for posting have been marked Accepted by Store Managers.
-
To review the accepted worksheets, select the worksheet and click on Edit. The Qty. (Phys. Inventory) field is the actual physical count. The Qty. (Calculated) is the system derived count. The quantity is the difference between the two. The Entry Type will show Negative or Positive Adjustment depending on whether the physical count was more or less than the system count.
-
To alter the worksheet, make the necessary adjustments to Qty. (Phys. Inventory) column. The Quantity column and Entry Type column will update automatically.
-
To post the worksheet, close the worksheet by clicking OK to return to the previous screen. Click on POST.
-
Click on Yes to confirm. A confirmation message will appear.

3. Updating the Bad Email flag for invalid emails
- Obtain the list of invalid emails from the marketing company.
- Ensure these are listed in an Excel spreadsheet in column A with no header.
- Navigate to: Departments > LS Retail > Member Management > Setup > Member Management Setup
- Click on the Actions tab.
- Click on Import Invalid Email.
- Click on OK and select the Excel file containing the invalid email addresses.
- Click on OK – the Bad Email flag for all the email addresses in the file will be updated.
4. Staff Functions
4.1. Setting up new Staff / Editing Staff Details
- Navigate to the Staff List.
- Click on Add New.
- Enter staff name - Note that staff contact details are not being maintained in LS Retail so these do not need to be completed. These are maintained in the Payroll system.
- Assign the staff member to one of the pre-defined Permission Groups.
- Create a member record in the STAFF loyalty club (see Loyalty clubs section).
4.2. Re-setting staff passwords
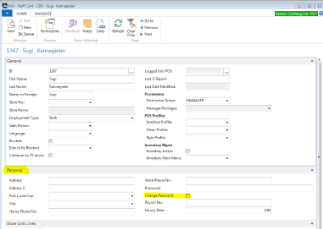
- Navigate to the Staff List.
- Select the staff member and click on Edit. Navigate to the Personal tab.
- Check the Change Password box.
- In order for this setting to be sent down from head office to be applied in store the following job will then need to be run ****
- The staff member should now be asked to provide a new password when logging in.
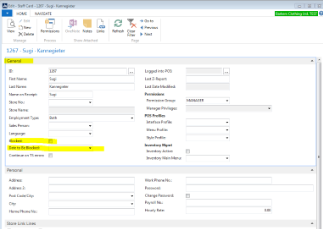
4.3. Make a staff member inactive
- Navigate to the Staff List.
- Select the staff member and click Edit.
- Under the General tab update the Blocked checkbox and the Date to be Blocked field.
- Remember to block the staff member record in the STAFF Loyalty Club (see Loyalty Clubs section for how to).
5. Loyalty Clubs
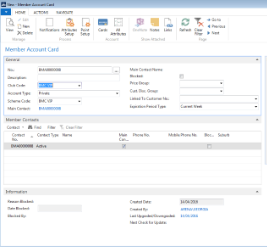
5.1. To add a member to a club from the back office
- Navigate to Member Management.
- Click on Member Accounts.
- Click on Add New.
- Select the Club Code for the Member. The No. and Scheme Code will automatically be assigned once the club is selected.
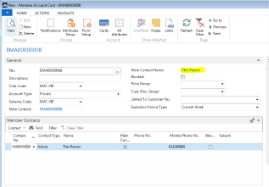
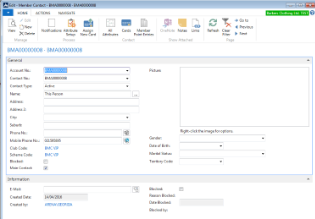
- Enter the Name under the Member Contacts tab.
- Once the name is entered you can then open the Member Contact card to complete other details by clicking on the Main Contact Name that has now appeared in the General tab.
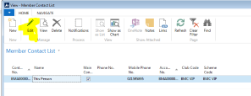
- The Member Contact List will open. Click on Edit.
- Complete the other details for this member.
5.2. Update a member’s preferences and attributes
- By default a member has no preferences or attributes set up ***********
5.3. To block a member
- Blocked members can no longer be added to transactions.
- Navigate to Member Clubs.
- Select the Member Club.
- Select Contacts (note that you can also navigate directly to Member Contacts without selecting a Loyalty Club first. This will show you all the member contact records for all Loyalty Clubs).
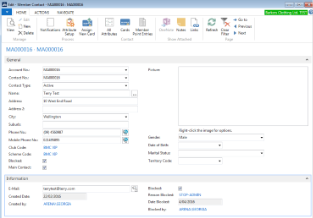
- Find and select the member’s contact and click on Edit.
- Tick the Blocked checkbox.
- Choose Stopped by Admin as the Reason.

5.4. To unblock a member
- Navigate to Member Contacts.
- Find and select the member’s contact and click on Edit.
- Untick the Blocked checkbox either in the General Tab or the Information Tab.
- The following message will appear. Click on YES.
- The member is unblocked.


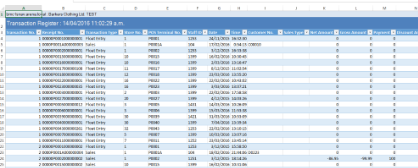
6. Export data to Excel
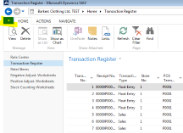
- Navigate to the data table that you want to export e.g. Transaction Register.
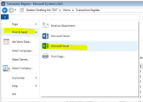
- Click on the drop down arrow in the top left hand corner of the page.
- Select Print & Send and then select Microsoft Excel.
- It is now possible to filter and work with this data in Excel.
7. Expiring Gift Cards